I told you earlier that we bought a house last year and we also got a lot of furniture that people didn't want any more. Mr. K's parents gave us a dining room set that they didn't want anymore. This was a BIG expense that we didn't have to spend. The furniture is in great condition, but was outdated. I recovered the chairs and it looks much better in our dining room now!
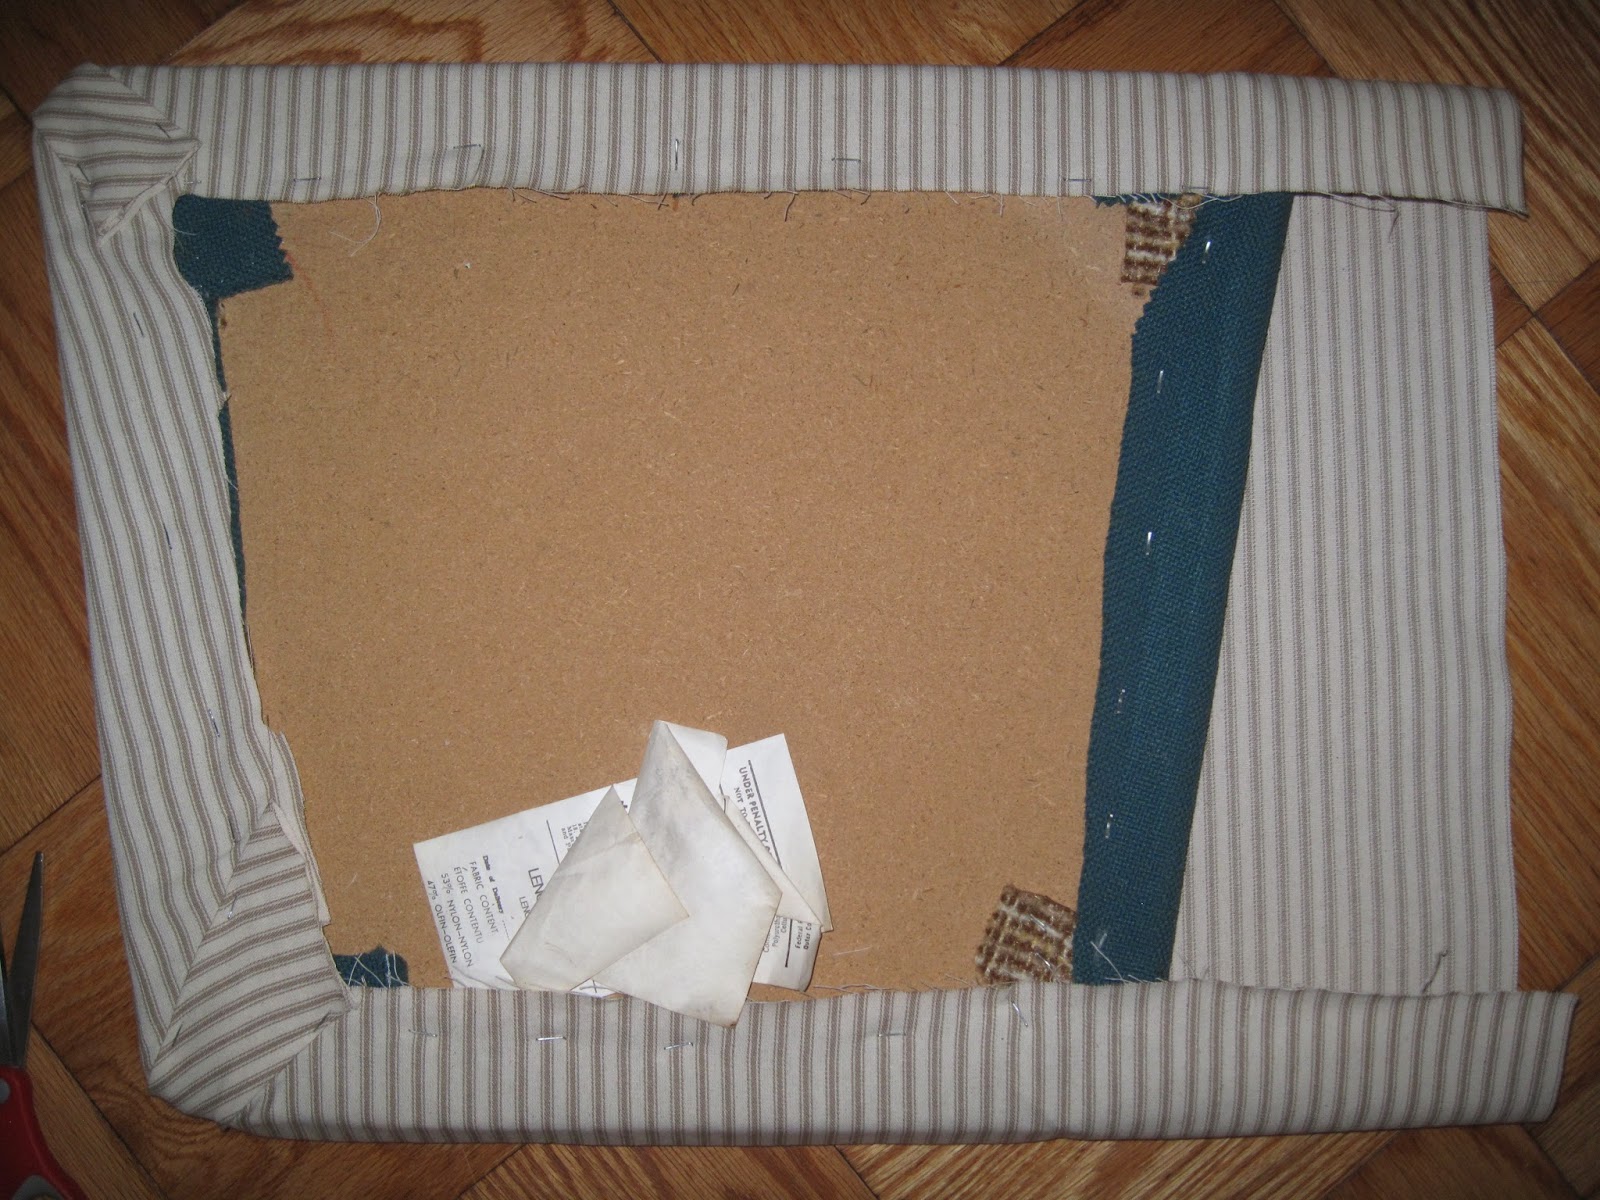
As you can see from the bottom of the seat that they were recovered once already. The brown and white fabric was NOT cute! Then the green is what we had to start with. I chose to cover the chairs in a white and brown striped fabric that I found at Wal-Mart for $4 a yard. I got 6 yards for 6 chairs but I didn't use all of it. In the picture above I laid out the fabric on the floor and cut it bigger than the seat so I can wrap it around to the bottom.
I first stapled the top and bottom to the bottom of the seat and then the sides. I left the corners go until all sides were stapled (with a staple gun) to the bottom of the seat. I didn't take off the old fabric or stuffing in the seat, but there are a lot of directions on how to do this also. I just wanted them covered.
Once all 4 sides were stapled in I pleated the corners and stapled them down too. This gave the corners a finished and unified look so they looked the same. You can't really see the corners when you turn the chair the correct way and sit down but it was nice to know (for my own sake) that they were the same...just in case
This is a close up of how i pleated the corners. and stapled them down. I finished all 6 chairs in about 2 hours...including ironing the fabric, cutting the fabric to size, taking the seats off the chairs and screwing them back onto the chairs. This was a quick project that took hardly anytime at all and made the dining room look so much nicer.